
There’s something quietly satisfying about turning odds and ends of vegetables into crispy, snackable chips. It’s a way to make use of those slightly tired carrots, parsnips, or even kale stems that often get ignored. Baking them transforms everyday produce into something unexpectedly crunchy and addictive, no oil needed.
This process feels almost meditative—slicing, spacing, watching them crisp up in the oven. It’s not about perfect uniformity but about embracing the rustic, imperfect beauty of homemade snacks. Plus, it’s a good excuse to experiment with whatever vegetables are lingering in your crisper, turning them into a little bit of joy.
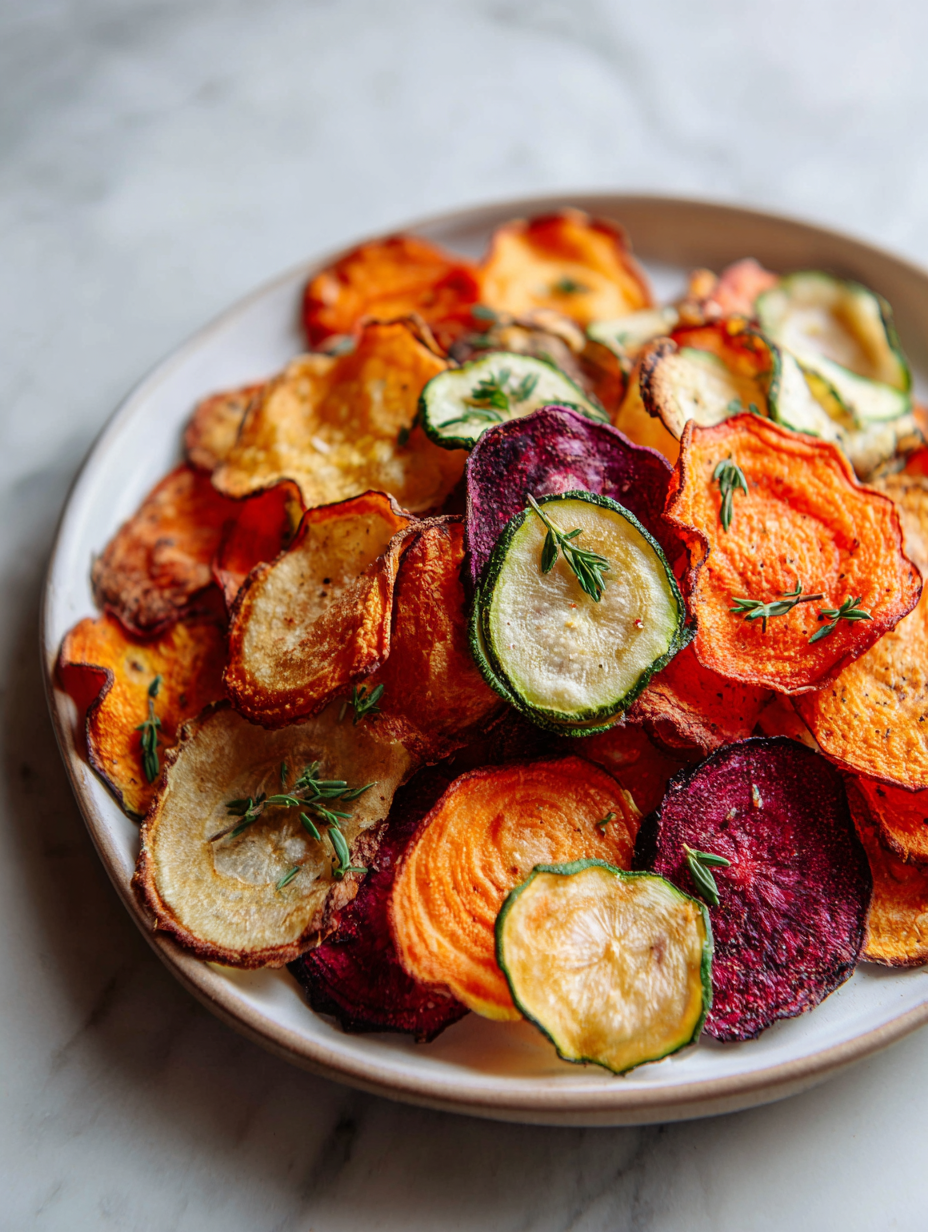
Focusing on the overlooked charm of turning humble vegetables into crispy, snackable art—an honest peek into the meditative process of making your own baked chips from odds and ends, transforming everyday produce into something unexpectedly satisfying.
The story behind this recipe
- I started making these vegetable chips one lazy afternoon, trying to clear out the fridge before it turned into a vegetable jungle. There’s something oddly comforting about slicing up odds and ends and turning them into something crispy and snackable. It was a small act of rebellion against waste, and honestly, I was surprised how addictive they became.
- The kids loved them, especially when I sprinkled a little sea salt and smoked paprika over warm, freshly baked slices. It became our weekend ritual—snacking while chatting about the week, the smell filling the whole kitchen with that toasted, savory scent. It’s simple, imperfect, and somehow makes me feel a bit more resourceful every time I make them.
- heading: The story behind this recipe
Ingredient breakdown: key components
- Kale: I love how kale crisps up into smoky, brittle sheets—just watch the edges so they don’t burn. Feel free to swap with chard, but keep an eye on the moisture content, or they might turn soggy.
- Sweet Potatoes: Their natural sweetness caramelizes beautifully in the oven, giving a rich, almost nutty crunch. You can substitute yams, but reduce the baking time slightly to prevent burning.
- Carrots: I find their bright, earthy flavor shines through when baked into thin slices—crisp and subtly sweet. Parsnips work well too, adding a deeper, woody note, just keep the slices even for uniform crispness.
- Olive Oil: Just a light brush helps the edges brown and crisp. If you skip it, chips can be dry; for a richer flavor, try a splash of sesame oil, but watch the smoking point.
- Salt & Spices: A pinch of sea salt is essential, but feel free to experiment with smoked paprika or cumin for extra punch. Too much spice can overpower the vegetable’s natural flavor, so start small.
- Lemon Juice: I sometimes add a squeeze before serving for brightness—cuts through the earthy tones. Skip if you prefer a milder, more mellow chip, but don’t skip the salt.
- Optional Herbs: Dried thyme or rosemary sprinkle nicely on top before baking, adding aromatic complexity. Fresh herbs might burn quickly, so add those after baking for a fresh burst.
Spotlight on key ingredients
Vegetables (kale, sweet potatoes, carrots):
- Kale: I love how kale crisps up into smoky, brittle sheets—just watch the edges so they don’t burn. Feel free to swap with chard, but keep an eye on the moisture content, or they might turn soggy.
- Sweet Potatoes: Their natural sweetness caramelizes beautifully in the oven, giving a rich, almost nutty crunch. You can substitute yams, but reduce the baking time slightly to prevent burning.
- Carrots: I find their bright, earthy flavor shines through when baked into thin slices—crisp and subtly sweet. Parsnips work well too, adding a deeper, woody note, just keep the slices even for uniform crispness.
Oil, salt, spices, lemon juice:
- Olive Oil: Just a light brush helps the edges brown and crisp. If you skip it, chips can be dry; for a richer flavor, try a splash of sesame oil, but watch the smoking point.
- Salt & Spices: A pinch of sea salt is essential, but feel free to experiment with smoked paprika or cumin for extra punch. Too much spice can overpower the vegetable’s natural flavor, so start small.
- Lemon Juice: I sometimes add a squeeze before serving for brightness—cuts through the earthy tones. Skip if you prefer a milder, more mellow chip, but don’t skip the salt.
Notes for ingredient swaps
- OIL: I prefer olive oil for flavor, but avocado oil offers a higher smoke point and a milder taste, perfect for crispness without overpowering the vegetable’s natural flavor.
- SALT: Sea salt flakes give that satisfying crunch and burst of saltiness, but you can swap with Himalayan pink salt for a slightly different mineral profile, or use smoked salt for a smoky twist.
- SPICES: Smoked paprika adds depth, but cumin or chili powder can give a different spicy note—start with small amounts and adjust to taste.
- VEGETABLES: Kale stems work well if sliced thinly and dried thoroughly, but if you prefer a milder crunch, zucchini or cucumber slices can be used—just keep in mind they release more moisture.
- LEMON JUICE: A squeeze brightens everything with citrus, but if you skip it, try a dash of vinegar or a sprinkle of zest for similar freshness, or omit for a more subdued flavor.
- HERBS: Dried thyme or rosemary add aroma, but fresh herbs might burn easily—add those after baking for a fresh herbal punch, or skip if you want a more straightforward vegetable chip.
- EXTRAS: For a bit of heat, sprinkle cayenne pepper before baking, but remember it can easily overpower the vegetable’s delicate flavor—use sparingly.
Equipment & Tools
- Mandoline or sharp knife: For slicing vegetables evenly and thinly.
- Baking sheet: To hold the slices during baking.
- Parchment paper or silicone mat: Prevent sticking and make cleanup easier.
- Pastry brush: To lightly oil the slices evenly.
- Cooling rack: To cool chips and maintain crispness after baking.
Step-by-step guide to baked vegetable chips
- Preheat your oven to 175°C (350°F). Prepare a baking sheet with parchment paper or a silicone mat for easy cleanup.
- Choose a vegetable: Thinly slice your veggies—about 1-2 mm—using a mandoline or sharp knife for uniform thickness. Think carrots, sweet potatoes, kale, or parsnips.
- Arrange slices on the baking sheet in a single layer, leaving space between each piece. Overcrowding leads to soggy chips.
- Brush lightly with olive oil or your preferred neutral oil. Sprinkle with sea salt and optional spices like smoked paprika or cumin.
- Bake for 15-20 minutes, turning the slices halfway through. Keep an eye on the edges—once golden and crisp, they’re ready. If they brown too quickly, lower the heat slightly.
- Check for doneness: Chips should be crispy, with a slight snap when you bite. They shouldn’t be soft or soggy. If still soft, bake a few more minutes, watching closely.
- Remove from oven and let rest on the baking sheet for 2-3 minutes to firm up. Avoid stacking or overlapping hot chips to prevent sogginess.
- Transfer to a cooling rack if needed, or serve immediately for maximum crunch. Sprinkle with a little extra sea salt or fresh herbs if desired.
Let the chips rest on the baking sheet for a few minutes to firm up. Serve warm or at room temperature. For presentation, sprinkle with finishing salt or herbs just before serving.
How to Know It’s Done
- Edges are golden and crisp, with no soggy spots.
- A gentle snap when biting, indicating proper crispness.
- Color is evenly distributed without burnt edges or undercooked spots.
Homemade Vegetable Chips
Ingredients
Equipment
Method
- Preheat your oven to 175°C (350°F) and line a baking sheet with parchment paper or a silicone mat.
- Using a mandoline or sharp knife, slice your vegetables as evenly as possible, aiming for 1-2 mm thickness. This ensures uniform baking and crisping.
- Arrange the slices in a single layer on the prepared baking sheet, leaving space between each piece to prevent sticking and sogginess.
- Using a pastry brush, lightly brush each slice with olive oil. This helps them brown evenly and develop a crispy texture.
- Sprinkle the slices with a pinch of sea salt and, if desired, a sprinkle of smoked paprika for extra flavor.
- Bake in the oven for about 15-20 minutes, flipping the slices halfway through. Keep an eye on them as they turn golden and crispy around the edges—this is your cue that they’re ready.
- Once crispy and golden, remove the chips from the oven and transfer them to a cooling rack to cool for a few minutes. They will continue to crisp up as they rest.
- If you like a bright note, squeeze a little lemon juice over the chips just before serving. This adds a fresh, tangy contrast to the earthy vegetables.
- Enjoy your homemade vegetable chips immediately or store in an airtight container at room temperature for up to two days for maximum crunch. Reheat briefly in a warm oven if needed.
Notes
Pro tips for perfect vegetable chips
- Use a mandoline for ultra-thin, even slices that crisp up uniformly.
- Lightly brush slices with oil to enhance crispness and prevent sticking—less is more here.
- Keep slices in a single layer and spaced out; overcrowding causes sogginess and uneven browning.
- Bake at a consistent 175°C (350°F) and turn slices halfway through to promote even color and texture.
- Watch the chips closely in the last 5 minutes to prevent over-browning and burning edges.
- Let the chips rest on the baking sheet for a couple of minutes; they firm up as they cool.
- For extra flavor, sprinkle with herbs or spices immediately after baking while still warm for better adherence.
Common mistakes and how to fix them
- FORGOT to check oven temperature → Use an oven thermometer for accuracy.
- DUMPED vegetables directly on sheet → Arrange slices in a single, even layer.
- OVER-TORCHED chips → Reduce baking time or oven temperature to prevent burning.
- MISSED flipping slices → Turn them halfway for even crisping and color.
Quick fixes for perfect chips
- If chips are soggy, splash with a little more oil and bake longer.
- When slices stick, patch with a quick brush of oil and rearrange.
- DUMPED in too much spice? Shake off excess and bake again for balance.
- OVER-TORCHED edges? Shield with a tent of foil and lower oven temp.
- If oven’s hot spots cause uneven color, rotate the tray halfway through.
Prep, store, and reheat tips
- Prepare vegetable slices ahead of time: Store in an airtight container in the fridge for up to 24 hours; slices stay crisp if kept dry and cool.
- Oiled and seasoned chips can be assembled a few hours before baking; keep covered at room temperature to prevent moisture absorption.
- Baked chips are best eaten within 2 days; store in an airtight container at room temperature, away from humidity to maintain crunch.
- Reheat chips on a baking sheet at 150°C (300°F) for 3-5 minutes until warm and crispy; avoid microwave, which makes them soft and chewy.
- For best sensory experience, re-crisp chips in the oven rather than microwave; they’ll regain their snap and aroma.
Top questions about baked vegetable chips
1. How thin should I slice the vegetables?
Use very thin slices, about 1-2 mm, for maximum crunch and even cooking. A mandoline helps keep slices uniform and avoids uneven texture.
2. What’s the ideal baking time and temperature?
Bake at 175°C (350°F) for 15-20 minutes, flipping halfway. Look for golden edges and a firm snap when you bite into them.
3. How do I prevent burning?
If they start to burn, lower the oven temperature slightly or reduce baking time. Remove chips as soon as they’re crispy to prevent overdoing it.
4. How should I store and reheat leftover chips?
Store cooled chips in an airtight container at room temperature for up to two days. Reheat in a warm oven at 150°C (300°F) for a few minutes to refresh their crunch.
5. Can I make them oil-free?
Use a light brush of olive or avocado oil to help chips crisp up and brown evenly. Skip oil if you want a less greasy snack, but expect slightly softer results.
6. What vegetables work best for chips?
Choose root vegetables like carrots and sweet potatoes for natural sweetness, or leafy greens like kale for a smoky crunch. Use fresh, dry produce for best results.
7. Can I add spices or herbs?
Adding spices like smoked paprika or cumin before baking enhances flavor. For extra brightness, sprinkle a little lemon juice or herbs after baking.
8. Can I prep slices in advance?
Yes, you can prepare slices ahead of time and keep them in the fridge for up to 24 hours, keeping them dry and covered to prevent sogginess.
9. How do I ensure even crisping?
Overcrowding the baking sheet causes sogginess. Keep slices spaced out in a single layer for crispier chips and even baking.
10. What if my chips aren’t crispy enough?
If chips are soft, return them to the oven for a few more minutes until they crackle and turn golden. Avoid microwaving, which makes them chewy.
These baked vegetable chips aren’t just a snack; they’re a little act of mindfulness. Focusing on simple ingredients and the quiet rhythm of baking can be surprisingly calming. Plus, there’s something about that satisfying crunch that makes all the prep feel worth it.
They’re perfect for when you need a quick, honest bite that’s a bit more thoughtful than store-bought. Whether sharing with friends or munching solo, they bring a bit of kitchen honesty to any moment. Sometimes, that’s all it takes to turn a simple snack into a small, comforting ritual.